
Hello there!
So why does this book take so long? Well, it's only me doing the outline, research, images, content, credits, set-up, and publishing. There is now a proofreader which I'm grateful for (thank you Pamela!) and Chapters 1-3 are proofread. I'm still looking for a printer but I'll wait until Chapter 7 to find one (I had two lined up but they fell through). And we need to take life into account; appointments, vacations, grand babies born, health issues, unexpected things...
Here is a step-by-step for how each page spread is done and an image sample. (See bottom of this page for why I did this...think Picture Picture).
There will be 7 chapters in the "Wonderful World" book and 224 pages. I am working on chapter 5.
Ch. 1•Humans; Ch. 2•Animals; Ch. 3•Birds, Bugs; Ch. 4•Amphibians, Aquatic, Reptiles; Ch. 5•Food, Herbs, Spices; Ch. 6•Flowers, Plants, Trees; Ch. 7•Fossils, Rocks, Solar System
Steps for each Page Spread
(This sample is for Marsupials, Chapter 2, pages 54-55)
Before I start each chapter I figure out the categories that will go on each page spread. For example: Animals Chapter: Elephants, Rodents, Bats... Once that is done I do the following steps.
STEP 1: Determine 8-12 different images for each page spread.
STEP 2: Find images. Place in Photoshop or Illustrator depending on image.
STEP 3: Credit images*. (Photoshop)
STEP 4: Roughly crop images. (Photoshop)
STEP 5: Place images in rough layout. (InDesign)
STEP 6: Apply different filters and finalize images. Making them lighter, as printing darkens them. (Photoshop)
STEP 7: Place finalized images. Modify layout, if needed. (InDesign)
STEP 8: Add bible verse for each page spread. (InDesign)
STEP 9: Add facts to images. (InDesign)
STEP 10: Add line separations and caption for Sophie the seahorse. (InDesign)
STEP 11: Add background image. (Photoshop)
STEP 12: Roughen header text and place color behind it. (Illustrator/Photoshop)
• Unfortunately, I will have to go back and add a link to each image per licensing guidelines. I'm glad I caught that mistake now rather than on Ch. 8!
Steps for Each Image
|
ENLARGE
|
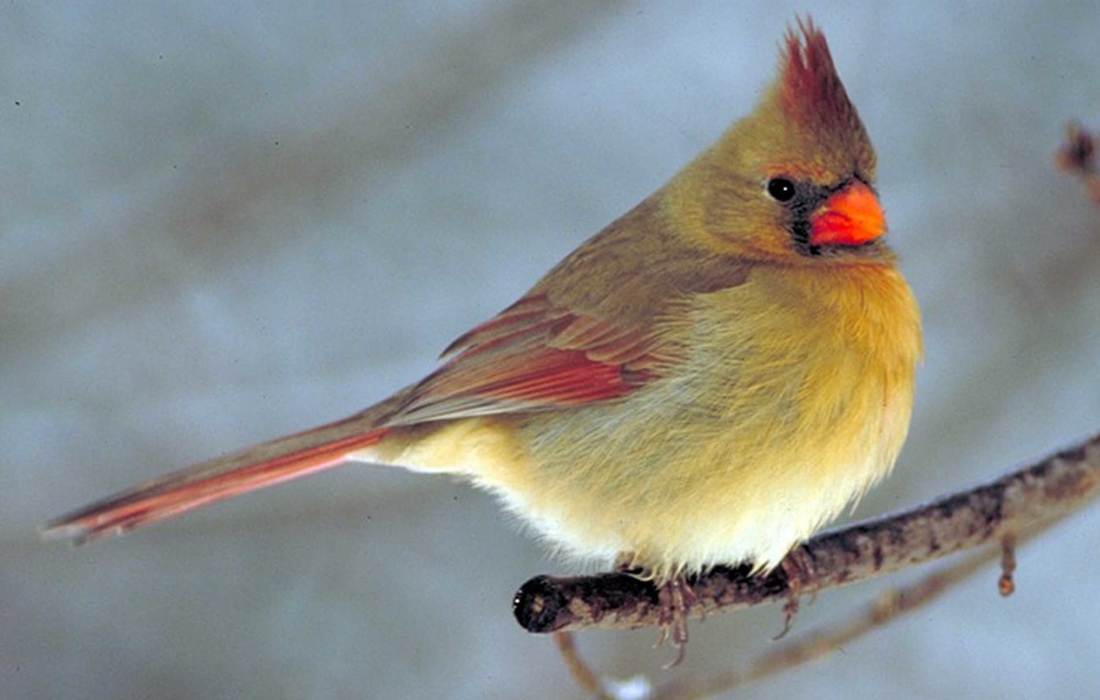
STEP 1: Find public domain image.
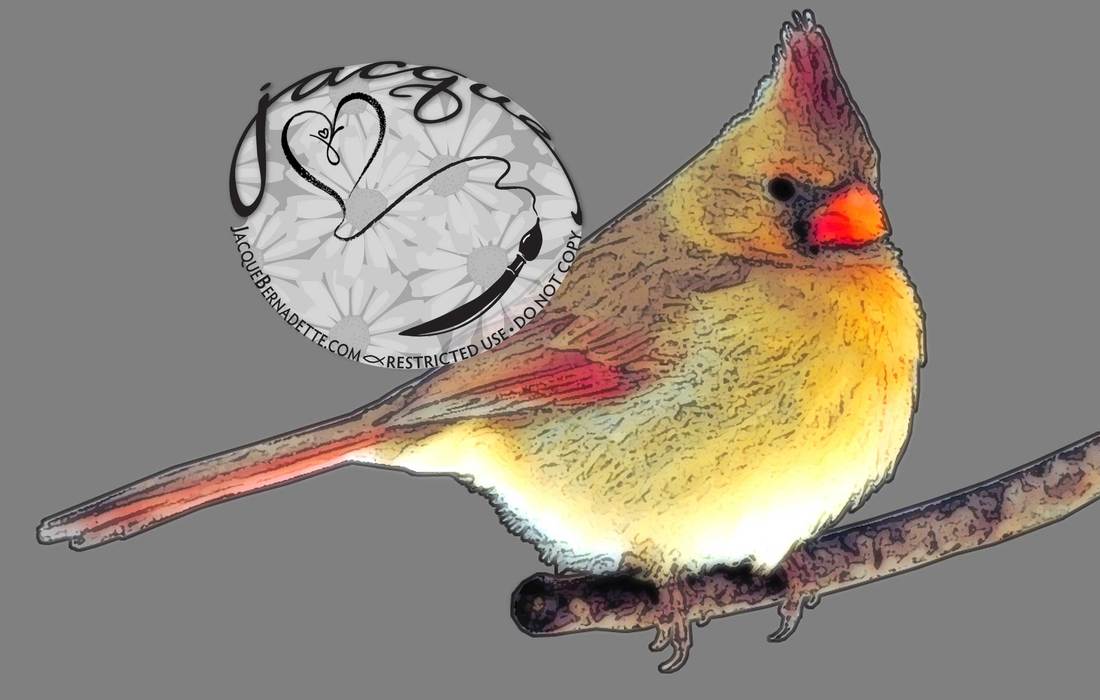
STEP 2: Remove background. Use 'watercolor' action. An action are steps that speed up the image alteration. This action has 55 steps. (PS)
STEP 3: Place line around image through watercolor action steps and blur. (Photoshop)
STEP 4: Manually erase parts of the line. (Photoshop)
STEP 5: Manually clone parts from original image to watercolor image. Like the details; eyes, beak, feet, and some feathers. (Photoshop)
STEP 6: Manually soften (smudge) a few feathers...cuz they are birds and they are fluffy! (Photoshop)
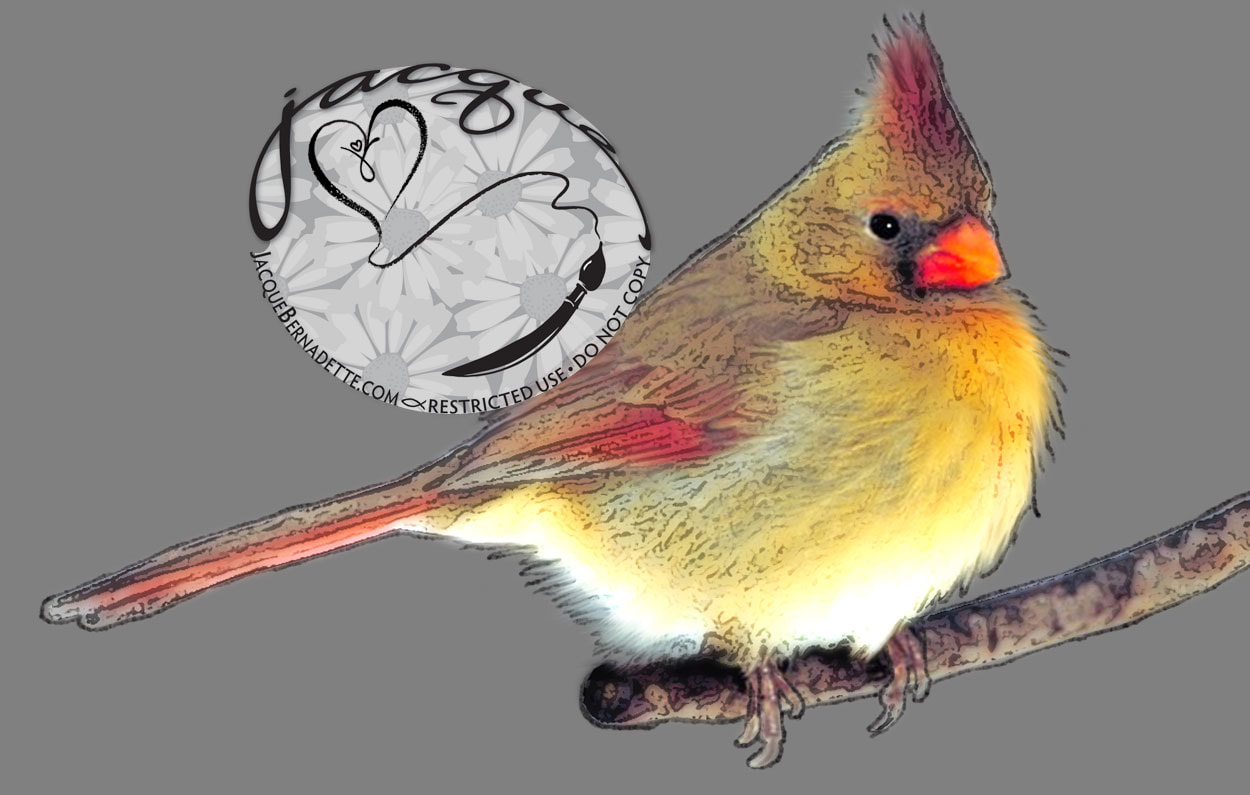
STEP 7: Place final image in book. (InDesign)
STEP 2: Remove background. Use 'watercolor' action. An action are steps that speed up the image alteration. This action has 55 steps. (PS)
STEP 3: Place line around image through watercolor action steps and blur. (Photoshop)
STEP 4: Manually erase parts of the line. (Photoshop)
STEP 5: Manually clone parts from original image to watercolor image. Like the details; eyes, beak, feet, and some feathers. (Photoshop)
STEP 6: Manually soften (smudge) a few feathers...cuz they are birds and they are fluffy! (Photoshop)
STEP 7: Place final image in book. (InDesign)
SELECT IMAGE TO ENLARGE
Website name shortened to JacqueB.com (jackeebee) from JacqueBernadette.com
Website name shortened to JacqueB.com (jackeebee) from JacqueBernadette.com

|
I always loved watching 'Picture Picture' from Mr. Roger's Neighborhood when our daughter was small. (Who am I kidding, I still like it!). Picture Picture was a part of the program where they would show various videos on how things were made; like cheerios, crayons, or pretzels. It always intrigues me to see how things are made or put together and how much work it took. I also enjoyed the people Mr. Rogers' would come in contact with and his kindness always showed through.
Here's a Mr. Roger's Picture Picture on how colored paper is made. And here are 6 videos of how toothpaste, milk, and more are made. Mr. Roger's singing, It's You I Like. ** Please let me know if any link is unavailable. |

